
Correct or cancel an expense
In Weplanify, edit an expense while its payroll is open, or cancel it in full or in part: it stays in the history and in the entries, offset.
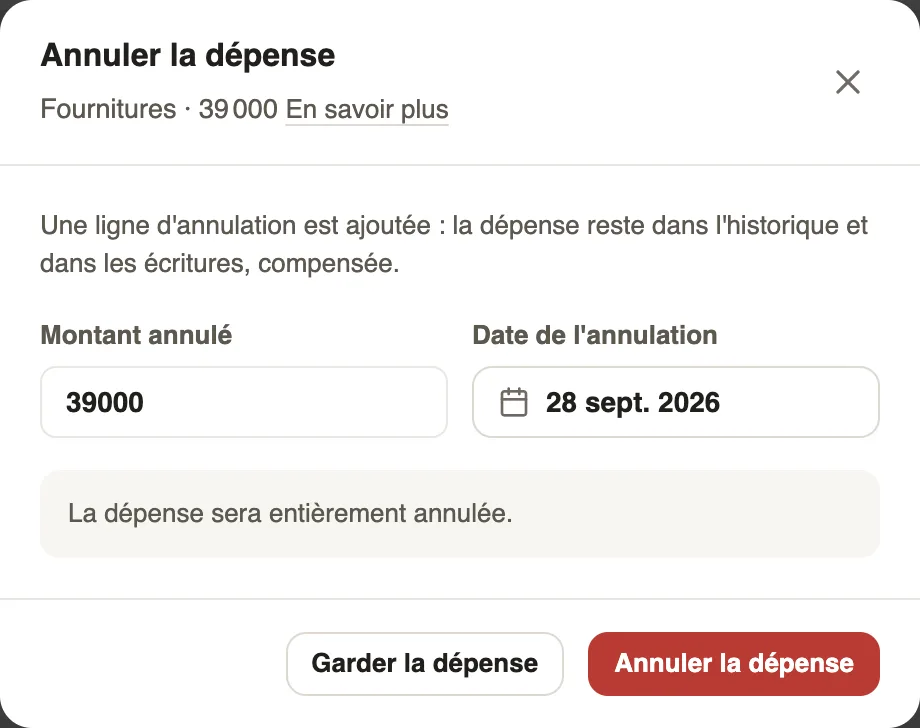
In Weplanify, cancelling an expense adds a cancellation line: the expense stays in the history and in the entries, offset, without being erased.
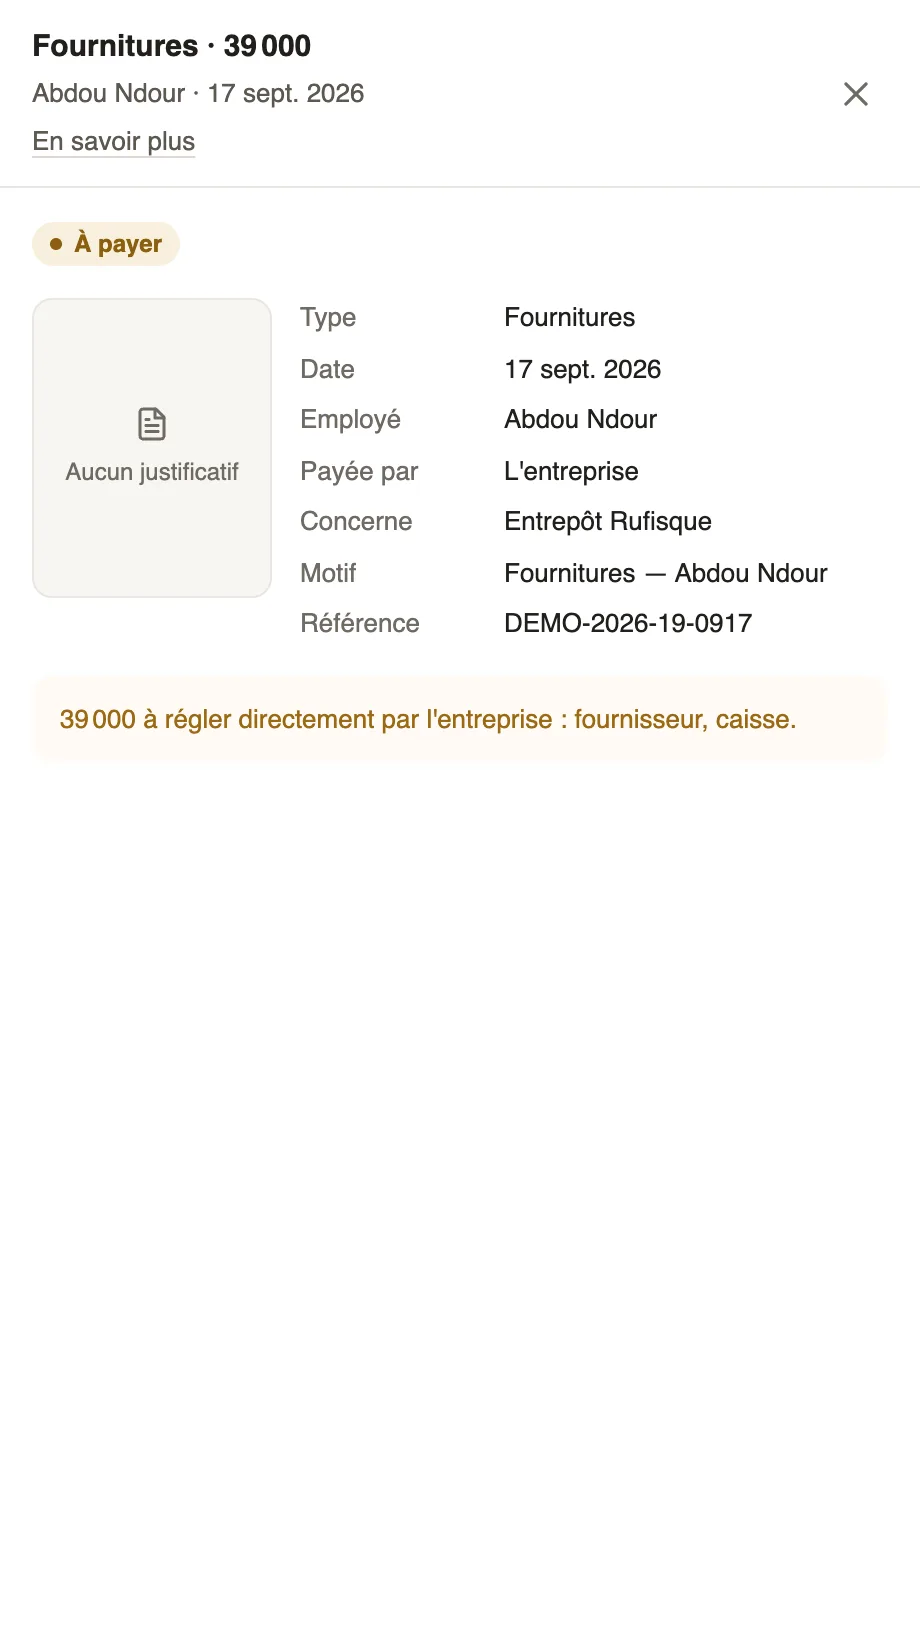
Steps
- In Expenses, click the expense: its panel opens.
- Edit: correct an expense entered by hand, as long as its month's payroll is not closed.
- Cancel the expense: enter the Amount cancelled and the Cancellation date. The full amount cancels the expense; a partial amount corrects it.
- Confirm with Cancel the expense (or Keep the expense to go back).
Good to know
- After the month's payroll closing, the expense can no longer be edited: cancel it, then enter the corrected expense in the current month.
- Delete is only offered for expenses paid by the company; an expense already on a payslip cannot be deleted.
- Mark as paid moves an expense out of the To pay tab.
Go further
Close the month, pay salaries and declareIn Weplanify, closing locks the payroll month, publishes payslips to employees and prepares the next month; the step then helps you pay and declare.Record an expenseIn Weplanify, record an expense starting from the receipt: its type, who paid, the amount, date and site concerned, then see what will happen next.