
The dashboard Getting started list
In Weplanify, the dashboard Getting started list shows what is left to do to get going, and each of its lines ticks itself once the step is done.
In Weplanify, as long as your workspace is not ready, the dashboard shows administrators the Getting started list, with its progress ("3 of 7").
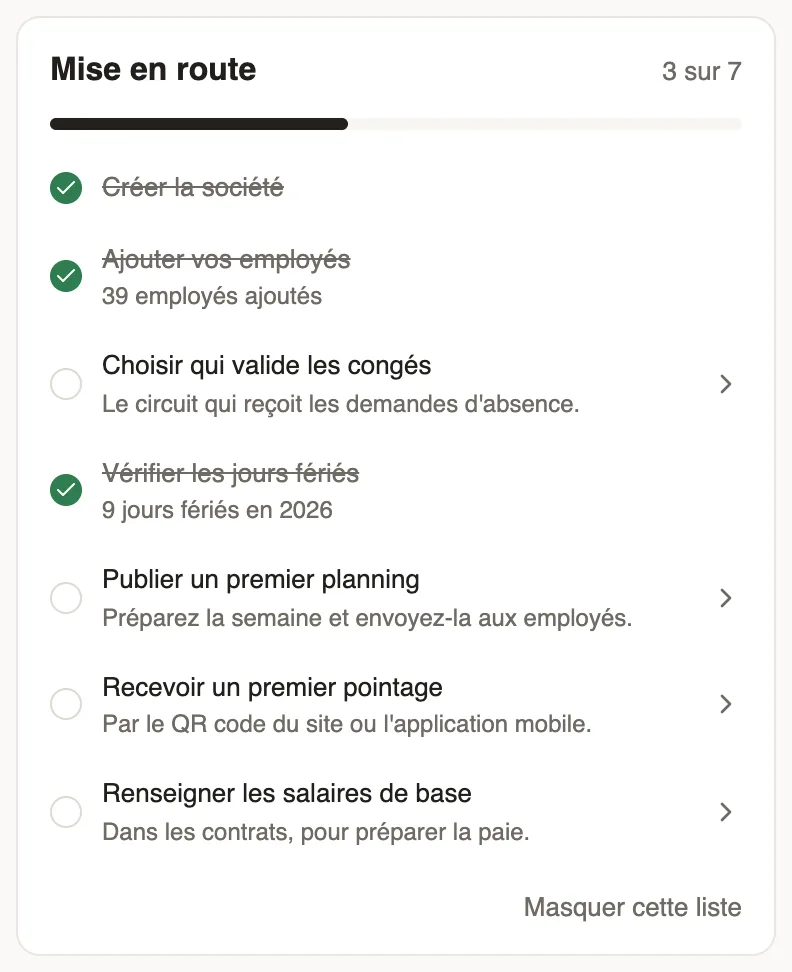
The steps
- Add your employees: one by one or by importing a file.
- Choose who approves leave: the absence request circuit.
- Check the public holidays of your country (public holidays).
- Publish a first planning (publish the schedule) and receive a first time entry, with the site QR code or the app.
- Enter the base salaries in the contracts, if you run payroll.
Good to know
- Click a line still to do to open the matching screen.
- If the setup wizard is not finished, Resume takes you back to it.
- Hide this list removes it from the dashboard, for this browser; it disappears by itself once everything is done.
Go further
Add an employee in WeplanifyIn Weplanify, an employee is created in four short steps; the name and phone number are enough, the rest can be completed later on their record.Import your employees from ExcelIn Weplanify, create or update dozens of employees at once from an Excel or CSV file, each of them being recognised by their own phone number.Choose who approves absencesIn Weplanify, the leave circuit says who receives each absence request, in which order, under which conditions, and who stands in for an absent approver.Public holidaysIn Weplanify, check and complete the year's public holidays: they are used by the planning, by leave counting, by the time clock and by payroll.Publish the planningIn Weplanify, publish the week so that your employees see their slots: as long as they are drafts, only the people managing the planning can see them.Follow employment contractsIn Weplanify, the Contracts page lists every employee's contracts, spots those nearing their end date and lets you create or import new ones.Getting started with WeplanifyIn Weplanify, the web is for managers and the mobile app is for employees: here is where to start, from creating the account to the first published schedule.Create your Weplanify workspace with the wizardIn Weplanify, the setup wizard creates your company in five steps: company, business and jobs, working hours, modules, then getting started.The Weplanify dashboardIn Weplanify, the dashboard sums up your activity: the period's figures, costs, items to handle, payroll progress and today's attendance at a glance.