
Choose an answer's state after each approval
In Weplanify, each form answer has a state (In progress, Granted, Refused…) that changes with each approval; add your own states, such as Ordered.
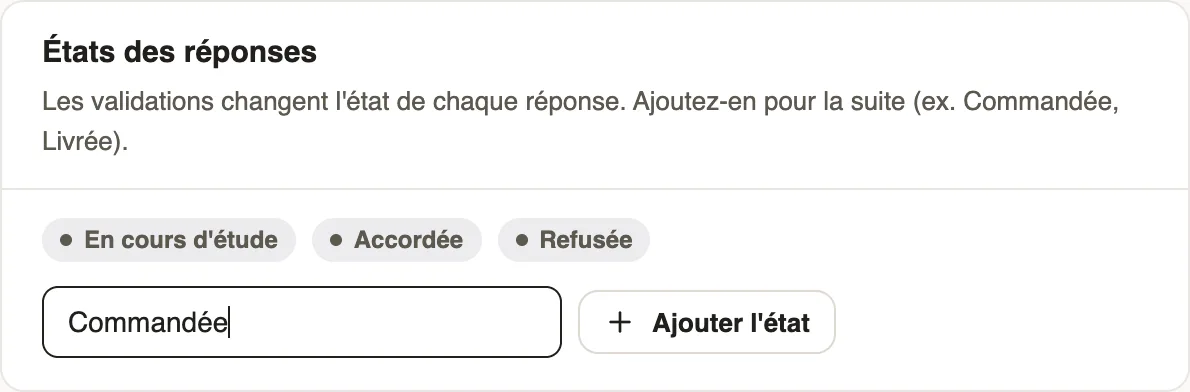
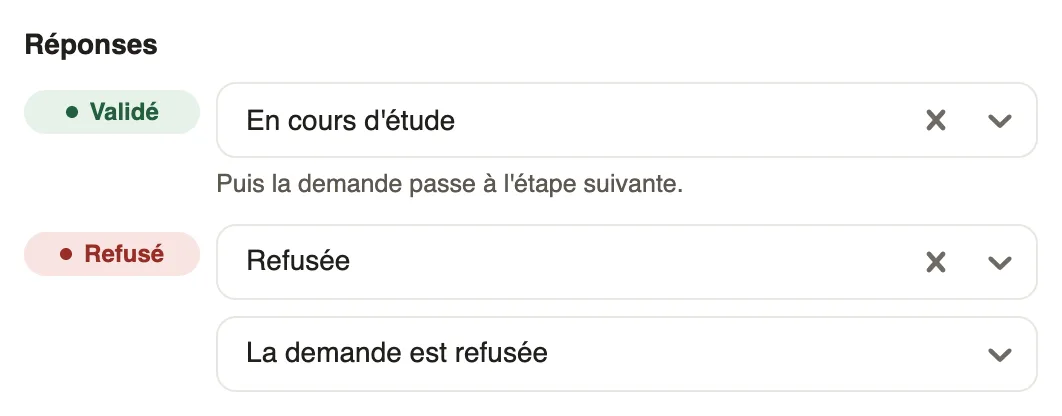
In Weplanify, an answer's state is the label that says where it stands. In a form's Validation tab, the Answer states part lists the possible states, and the Responses part of each step says which one the answer takes when the approver decides.
Steps
- Open Requests → Forms, the form, Validation tab.
- If the form has no states yet, click Create these states: In progress, Approved and Rejected.
- To follow what comes next, type a state (for example "Ordered", then "Delivered") and click Add the state.
- Click a step: under Responses, choose the state if it is Approved and if it is Rejected, then click Save.
Good to know
- A new state is used in a step's Responses: for example, a "Purchasing" step whose approval moves the answer to "Ordered".
- On a step that is not the last one, a refusal stops the request; choose Still goes to the next step to carry on anyway.
- The state shows in the form's Responses tab (follow the answers). For leave, expenses and advances, the states are fixed.
Go further
Follow, approve and export a form's responsesIn Weplanify, a form's Responses tab sorts answers by status, opens each one on the side so you can decide, and exports everything to Excel.Configure an approval circuitIn Weplanify, build the approval steps of a leave request, an expense, an advance or a form: the order, the name, the approver and when each step applies.