
Send a document for signature in four steps
In Weplanify, sending a PDF for signature takes four steps: the document, the signers, where each one signs, then a final check before you send it.
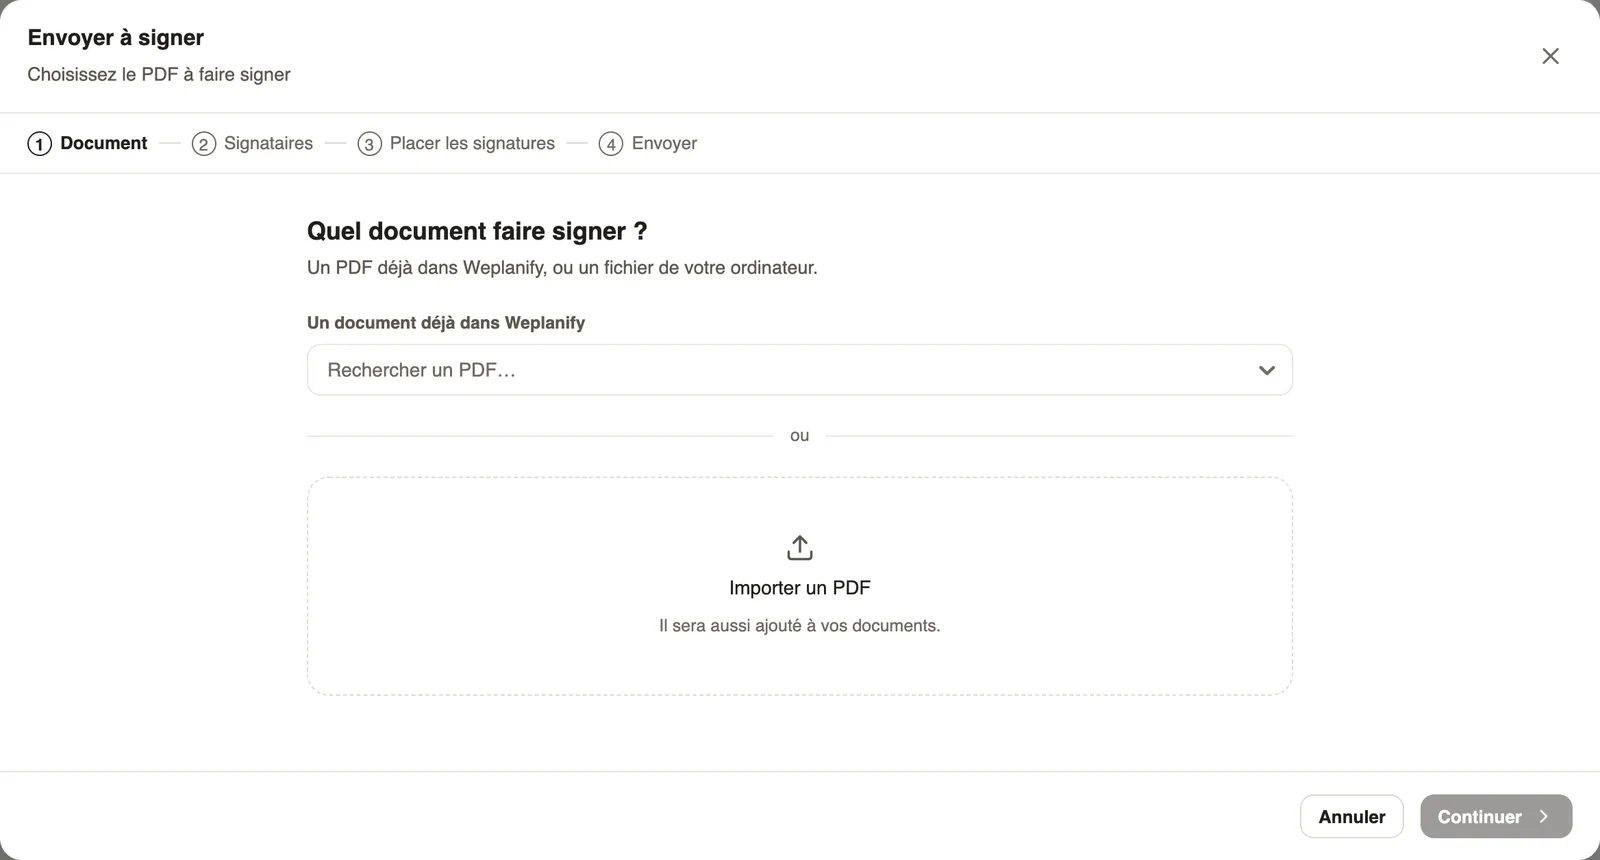
In Weplanify, electronic signature starts from People → Documents, Collections and signatures tab. A full-screen window guides you through four steps: Document, Signers, Place the signatures and Send.
Steps
- Click Send for signature, at the top of the screen.
- Document: search a PDF already in Weplanify (Search a PDF…) or click Upload a PDF, then Continue.
- Signers: add the people who sign and their order (see choose who signs).
- Place the signatures: check where each person signs on the pages (see place the signatures).
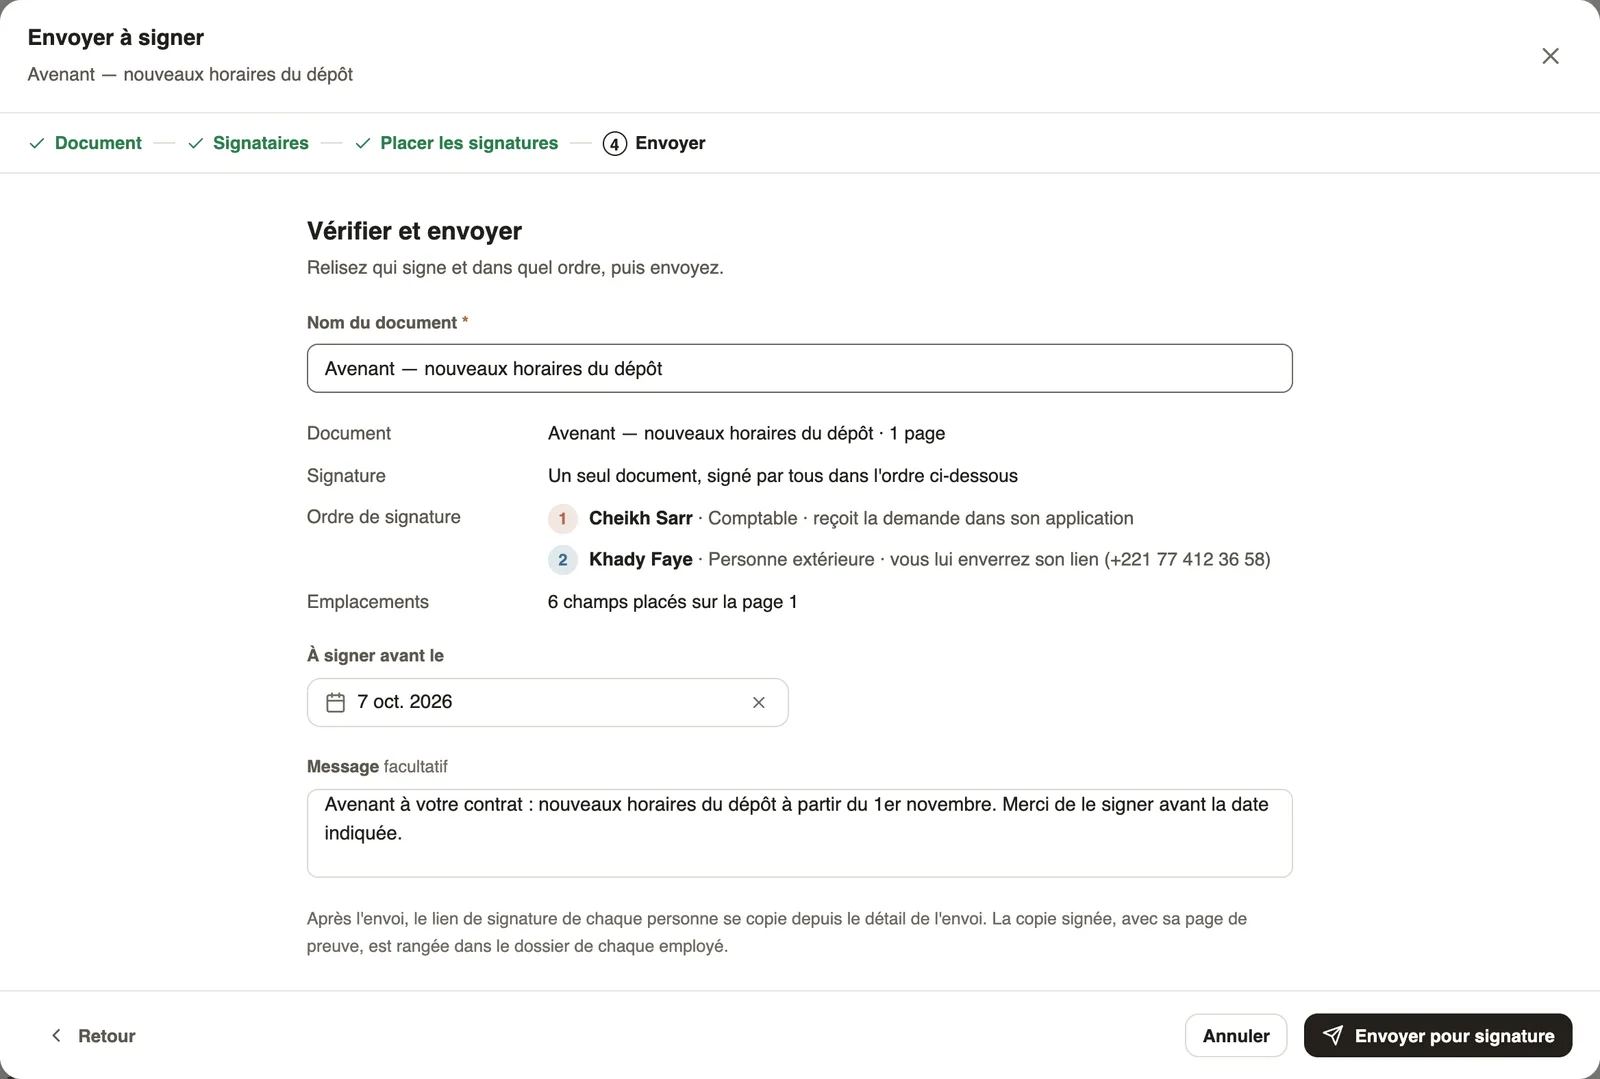
- Send: read the summary, adjust the Document name if needed, set the Sign before date and add a Message.
- Click Send for signature.
Good to know
- Only PDFs can be signed. An uploaded PDF is also added to your documents.
- The deadline is one week by default.
- Back returns to the previous step without losing anything. If you close the window, Weplanify asks before discarding the request.
- In All documents, the pen icon of a PDF opens the same window with that document already chosen.
- Each person signs in the app or from their personal link. Next: follow signatures and send reminders.
Go further
Sign a document from a personal linkIn Weplanify, each signer has a personal link: they read the document, sign with a finger or the mouse, or decline, with no account and even on a phone.Choose who signs a document and in which orderIn Weplanify, have a document signed by employees, a whole group or someone outside the company, one after the other or each on their own copy.Follow the signatures of a request and send remindersIn Weplanify, the detail of a request shows where each signer stands, copies their signing link, reminds late signers and opens the signed document.Place the signatures on the pages of the PDFIn Weplanify, place each signer's Signature, Name and Date fields on the PDF, with one colour per person, before the document is sent out for signing.HR documents in WeplanifyIn Weplanify, the Documents module files HR papers, spots incomplete staff files, gets PDFs signed and collects documents from your employees.Add a documentIn Weplanify, add a file with its name, its type, the employee concerned, its expiry date and whether the employee may download it from the app.Spot incomplete staff filesIn Weplanify, Staff files show for each employee where their contract, ID document, collections and documents to sign stand, in a single row.The document list and its countersIn Weplanify, the Documents tab lists every filed paper, with the Expired and Expiring soon counters and filters by type, folder, employee and status.