
Sort forms into categories
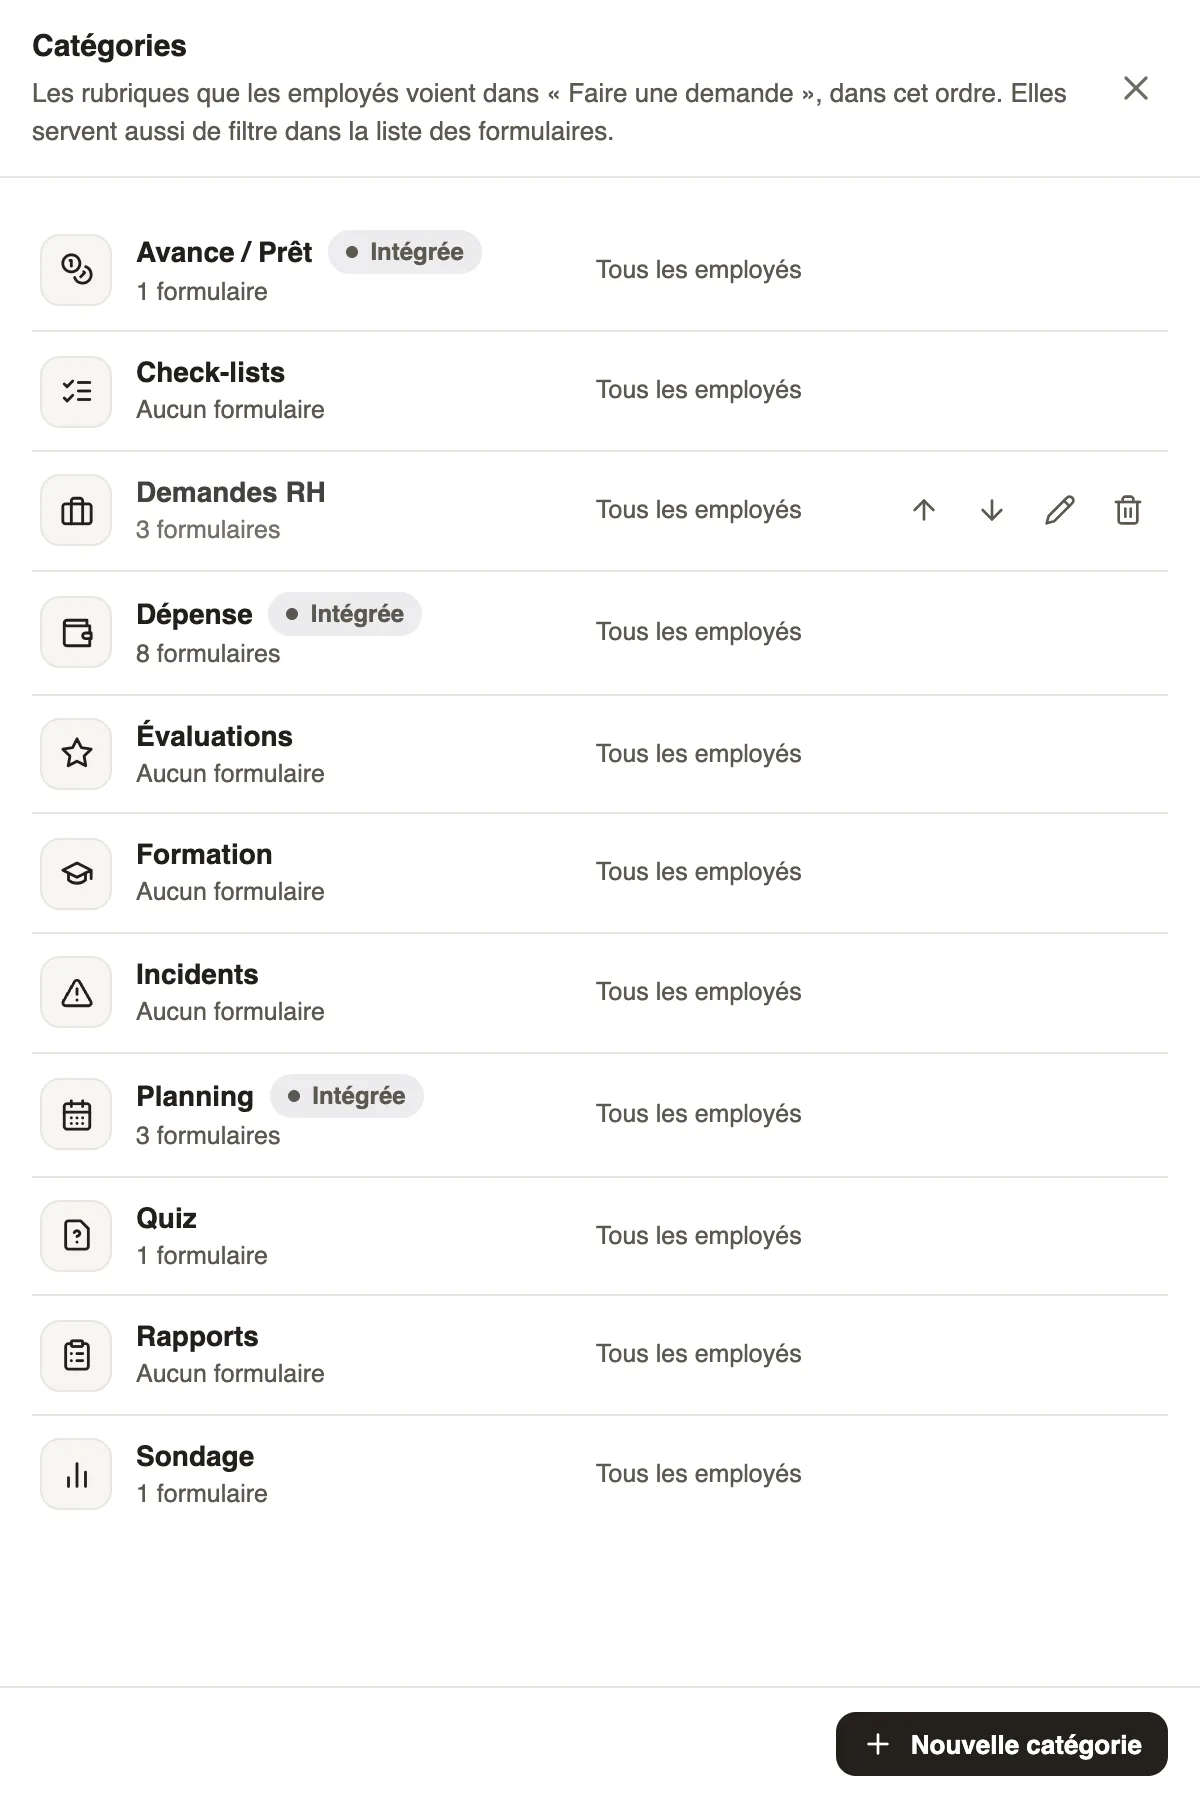
In Weplanify, categories sort your forms: their icon, their sentence, who sees them and their order in the employees' Make a request screen.
In Weplanify, a category groups forms together (HR requests, Reports, Incidents…). It is a heading in Make a request and a filter in the forms list.
Steps
- In Requests → Forms, click Categories.
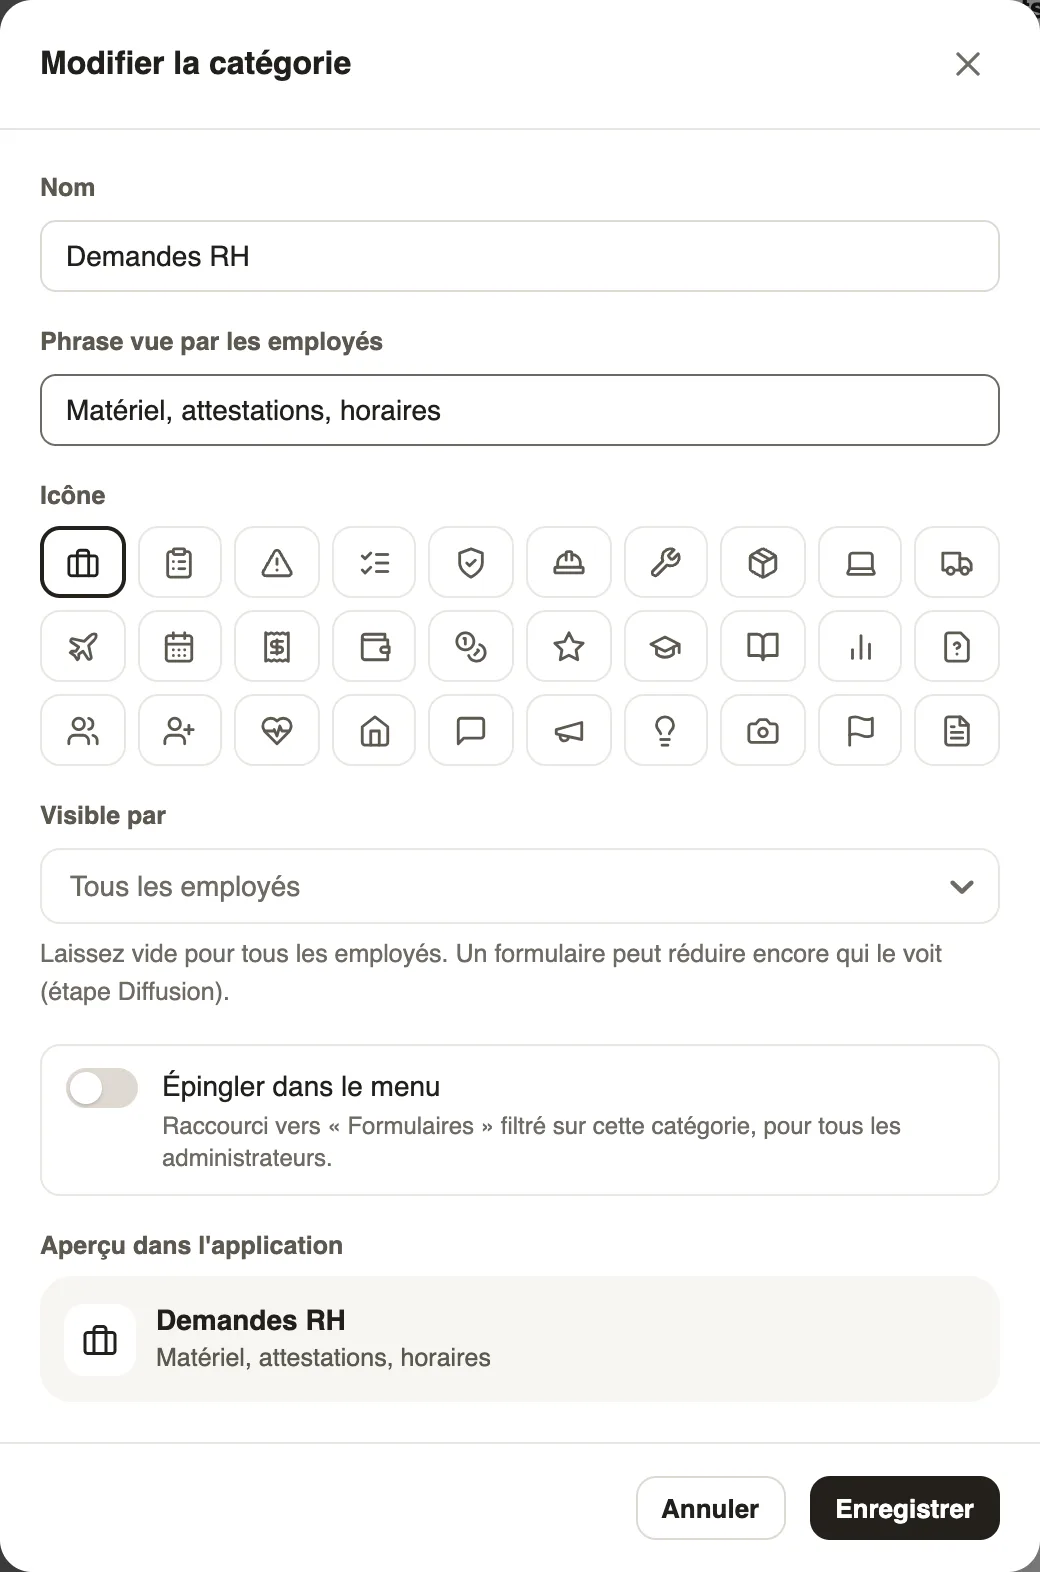
- Click New category, or hover a category and click the Edit pencil.
- Give a Name, the Sentence employees see and an Icon: the Preview in the app shows the result.
- In Visible to, pick groups; leave it empty for all employees.
- Turn on Pin to the menu to add, under Forms, a shortcut to the list filtered on this category, for every administrator.
- Click Save (or Create the category). The Move up and Move down arrows set the order of the headings.
Good to know
- Categories marked Built in (Expense, Advance / Loan, Planning) keep their name and cannot be deleted.
- Deleting a category deletes neither its forms nor their answers: they become uncategorised.
- A form can narrow further who sees it, at the Sharing step (who can answer).
Go further
Choose who can answer a form, and whenIn Weplanify, a form's Sharing step sets who can answer it (everyone, some sites, some groups or some people) and during which period of time.Weplanify forms: requests, reports and surveysIn Weplanify, every company form sits in a single list, sorted by category, showing what is waiting for your decision and what is running late.Receive employees' HR requestsIn Weplanify, HR requests is a category of forms (equipment, certificate, working hours) that employees find in their Make a request screen.Make a request: leave, expense, advance or formIn Weplanify, the Make a request screen brings leave, expense claims, advances and forms together: find what you need and send your request.