
Fill in a site checklist
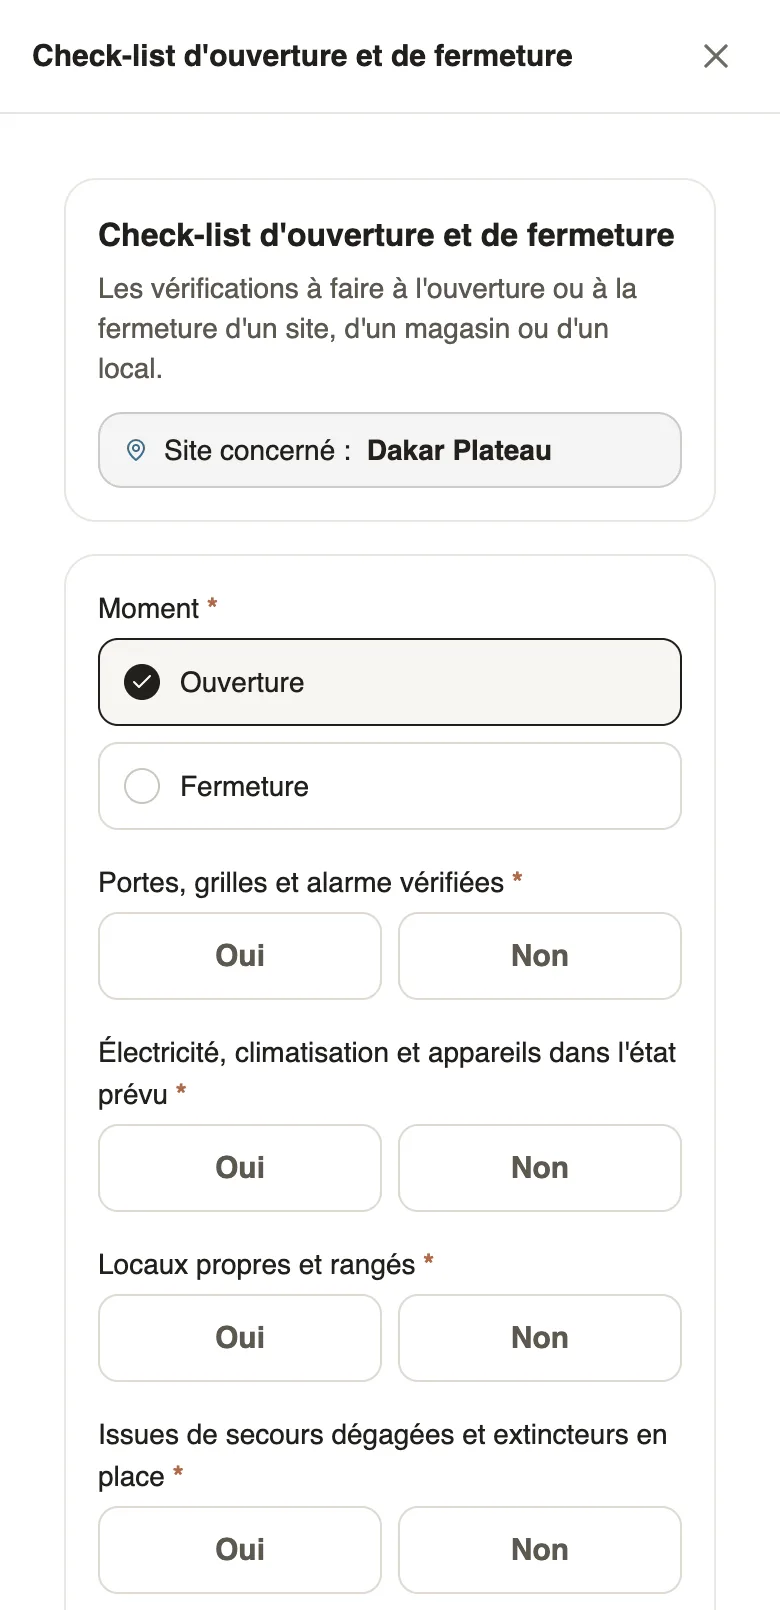
In Weplanify, the employee fills in a checklist on site: they choose the site, answer Yes or No to each point, add a photo, sign it and then send the answer.
In Weplanify, the employee fills in the report or checklist on site, from their phone's browser or from a computer. Their answer fills in the day's checklist for their site.
Steps
- Open the checklist from Requests → Make a request, or with Fill in on the home card when it is featured there.
- Choose the site concerned in the list, then click Continue.
- Answer each point. For a Yes / No question, tap Yes or No: nothing is ticked at first.
- Add the photo asked for. For a signature, click Sign and sign in the frame.
- Click Submit.
Good to know
- A required question left unanswered is pointed out before sending. An optional Yes / No question left empty is not recorded as "No".
- The answer fills in the day's checklist for the chosen site; when it arrives after the time limit, it counts as filled in late (not filled in on time).
- Some answers open an incident and warn the site manager (incident from an answer).
Go further
See the checklists not filled in on timeIn Weplanify, the Frequency tab lists over 90 days the checklists not filled in or filled in late, site by site, with the person who was to fill them in.Open an incident from a yes or no answerIn Weplanify, a Yes / No question in a checklist can open an incident on its own, with the severity you choose and the site and the photos of the answer.Field reports and checklistsIn Weplanify, reports and checklists bring news from the field: they come back every day on your sites, show what was missed and can open an incident.