
Add custom fields to slots
In Weplanify, add to every slot a piece of information specific to your business, such as the vehicle, client or zone, and show it in the grid.
In Weplanify, custom fields complete the slot window, under Note, tasks and fields.
Steps
- Open Filters → Groups, job and display → Planning settings, Custom fields tab.
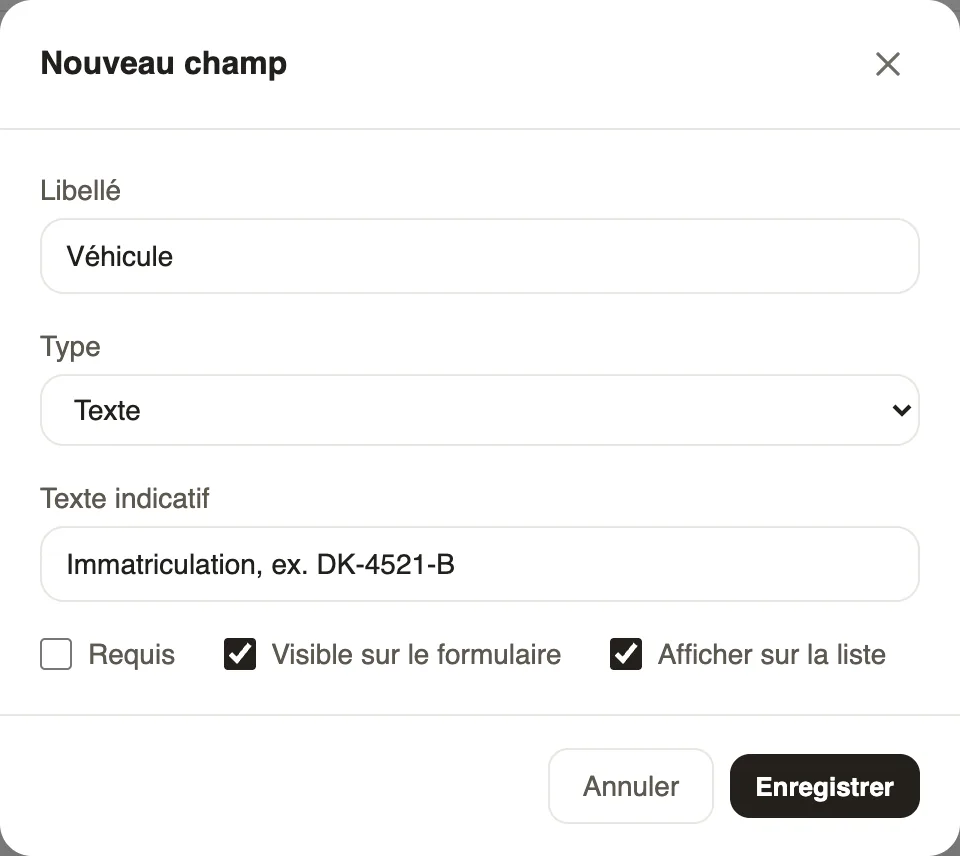
- Click Add a field: label, type (text, number, list of choices) and placeholder.
- Tick Required, Visible on form or Show on list, then Save and Finish.
Go further
Create a slot in the planningIn Weplanify, a slot says who works, on which days, at what time, on which site and in which job; it is created as a draft, for one or several employees.Act on several slots at onceIn Weplanify, select several slots to edit, copy or transfer them, turn them into an absence or into a team, or delete them all in a single go.Filter and sort the planningIn Weplanify, show only the site, group or job you care about, choose what the slots display, and then sort the employees in the order you need.